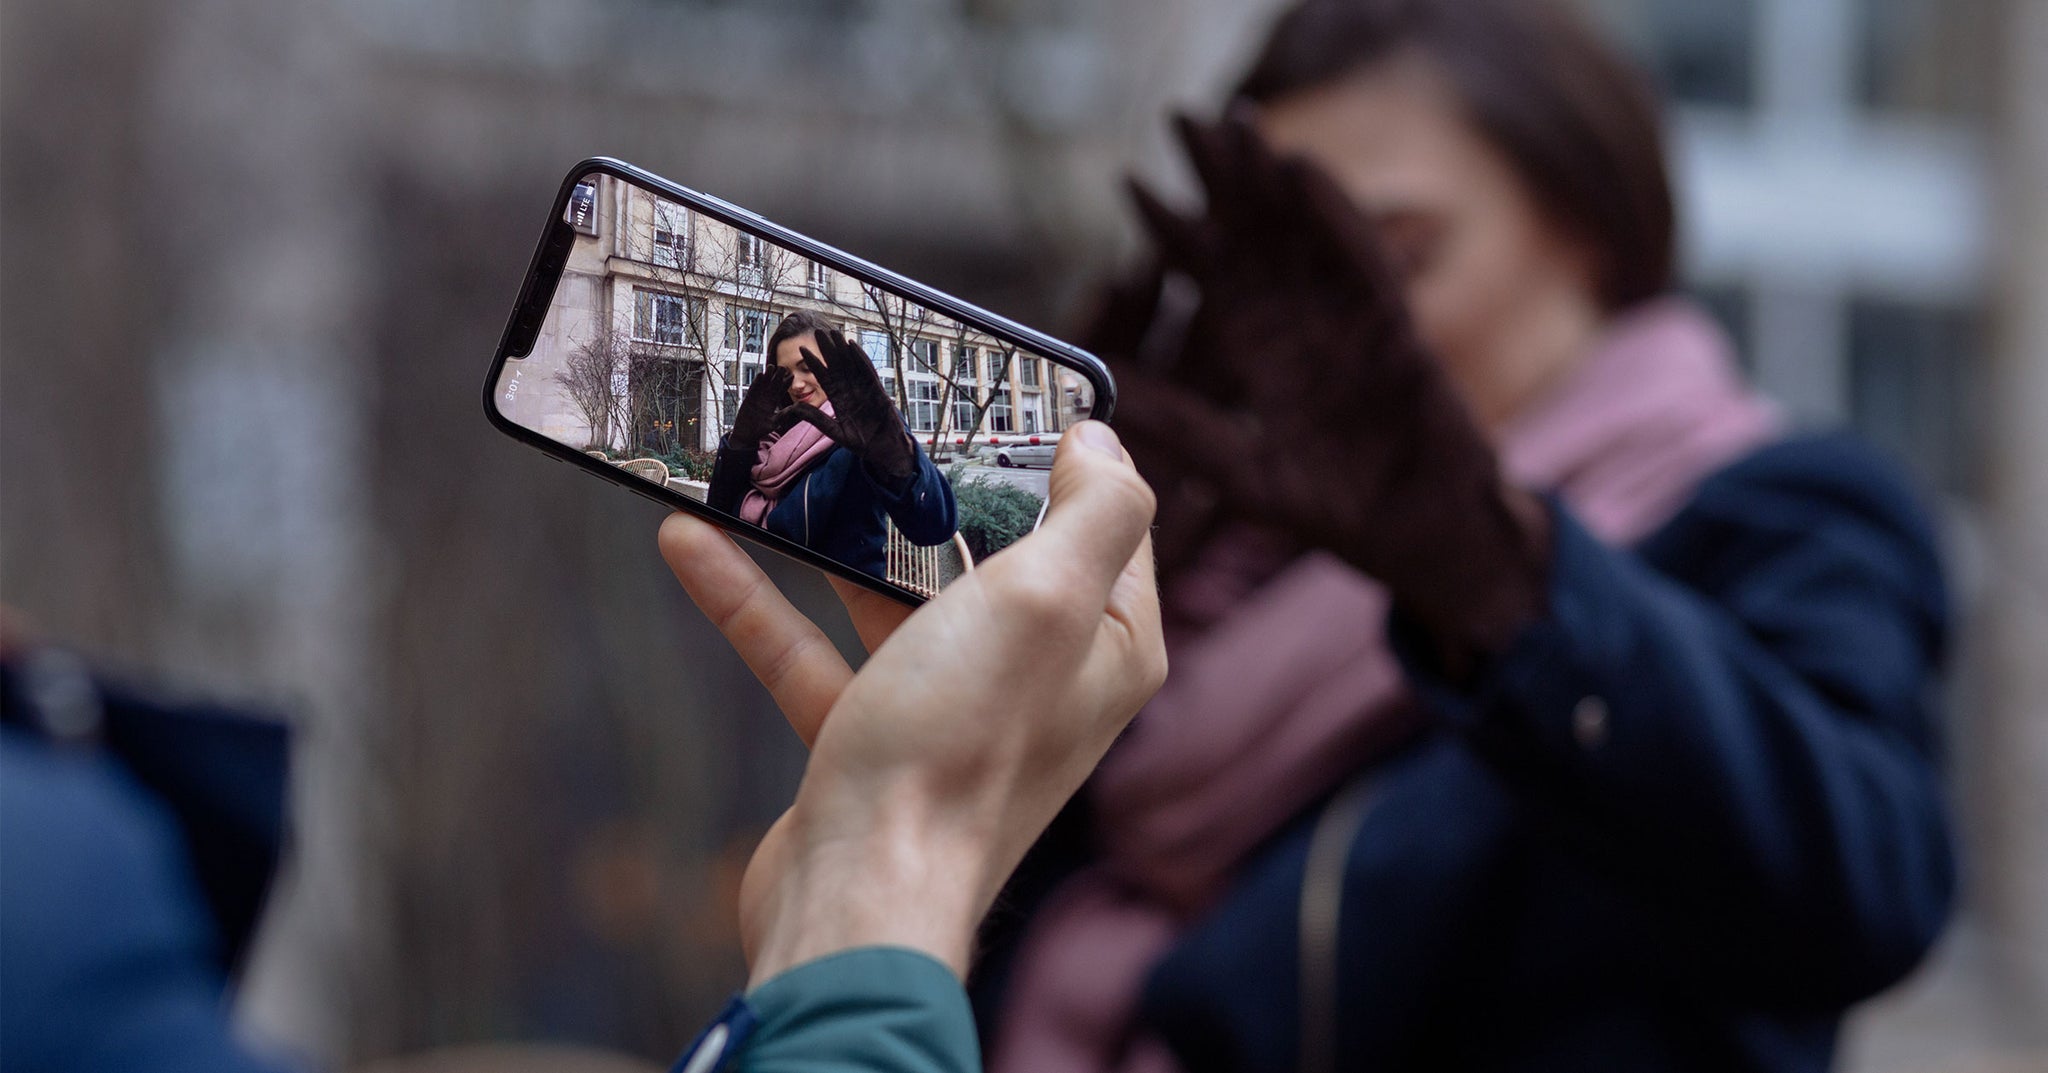
The iPhone is perhaps the most popular camera in America right now, but that doesn’t mean it’s used well. And with the new iPhone 12, iPhone 12 Max, iPhone 12 Pro, and iPhone 12 Pro Max it's more powerful than ever. We’re here to help you unlock your full potential. Here’s our list of pointers for improving your iPhone photography game.
It’s All in the Composition
Grid lines (Settings → Photos/Camera → Grid On) are invaluable to the iPhone photographer. The key here is the Rule of Thirds, which basically states that placing significant compositional elements along the grid lines will spatially divide your picture and make it more pleasing for the viewer. You can use the grid lines to keep your photo level because let’s face it, your most liked photo isn’t going to come from a picture of a slanted horizon.
Make Sure Your Subjects Are Well Lit
Use your iPhone’s Auto-Exposure/Auto-Focus (AE/AF) lock to select which parts of your photo will be properly exposed. To move the lock, just press and hold on the screen where you want the camera to focus until the yellow exposure box bounces twice. Controlling for exposure is most commonly used when you have backlit subjects, where the sun is behind them and they’re darker than desired. Also, avoid using your iPhone’s flash if at all possible; the best photos are shot with natural light. Flash shots overexpose your subjects and the fine details you were trying to capture wash away in a flood of blinding yellow-white.
Zoom, Externally
You have a multitude of different lense options, including wide-angle and telephoto. Your iPhone has a built-in zoom, but avoid it at all costs. All it does is turn your photos into blocky, pixelated messes. Purchasing an external lense will significantly improve what you can do with your iPhone. A good external lense will let you zoom properly for those far-off shots. You’ll be stoked when your next long-distance sunset shot doesn’t come out looking like a partially loaded Imgur photo.
Stability Is Key
Even the slightest of movements during a shot can ruin a beautiful photo, particularly when it’s darker out and the shutter is open for longer. One of the simplest tricks is to use two hands. You’ll be surprised at how much easier it is to frame and steady a shot. You can use the volume “+” button on the side of the phone to snap the photo, which takes away any unnecessary shake from tapping the screen. Even better, use your arms like a tripod and rest it on a sturdy surface for extra-stable photos.
Manipulate Your Shots Like a Pro
Camera+ ($2.99 in the App Store) is the best photography app money can buy. If you’re serious about using your iPhone as a camera, this is a must-have. Camera+ offers a host of in-shot editing tools, like touch focus, continuous flash, and shot timer among others. There’s also a feature that lets you manipulate pictures after the fact. So go crazy and fire away. Oh, and don’t forget about us when you’re Instagram famous!